File Into Formal Complaint
The File Into My Formal Complaint feature allows registered users to upload additional documents or evidence into an existing Formal Complaint Docket.
Once documents are submitted, they are routed to NMPRC staff for review and approval.
After approval, the filings become visible under the Pleading Documents tab of the respective Docket.
1. Authorized Users
| User Type | Function / Permission |
|---|---|
| Tier 1 User | Can file into an existing formal complaint via the File Into Existing Formal Complaint Docket option under the Submit New button. |
| Tier 2 User | Can file into an existing formal complaint via the File Into Existing Formal Complaint Docket option under the Submit New button. |
2. Access the Filing Form
-
Log in and navigate to the Dashboard.
-
Click the Submit New button at the bottom right corner.
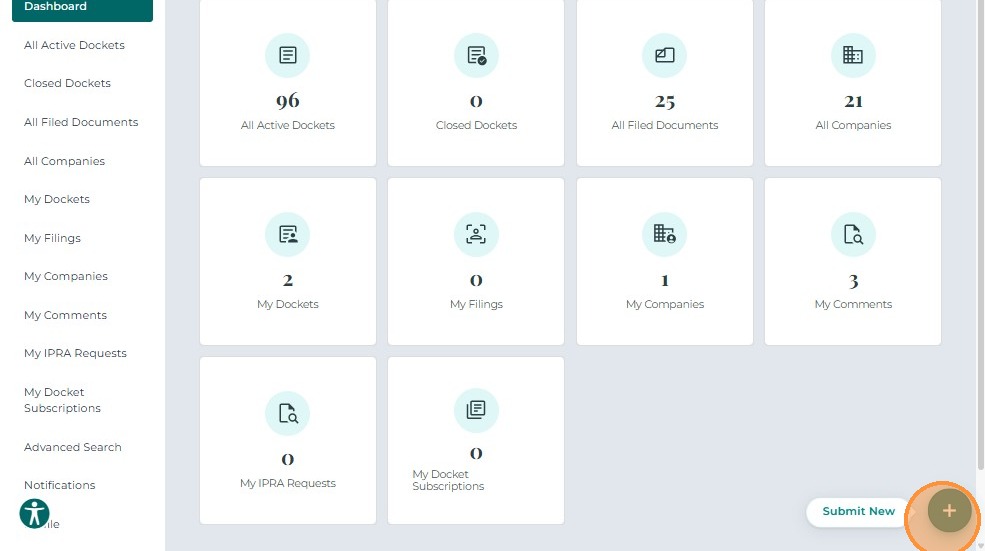
- A pop-up window appears showing available filing options.
Select File Into Existing Formal Complaint Docket.
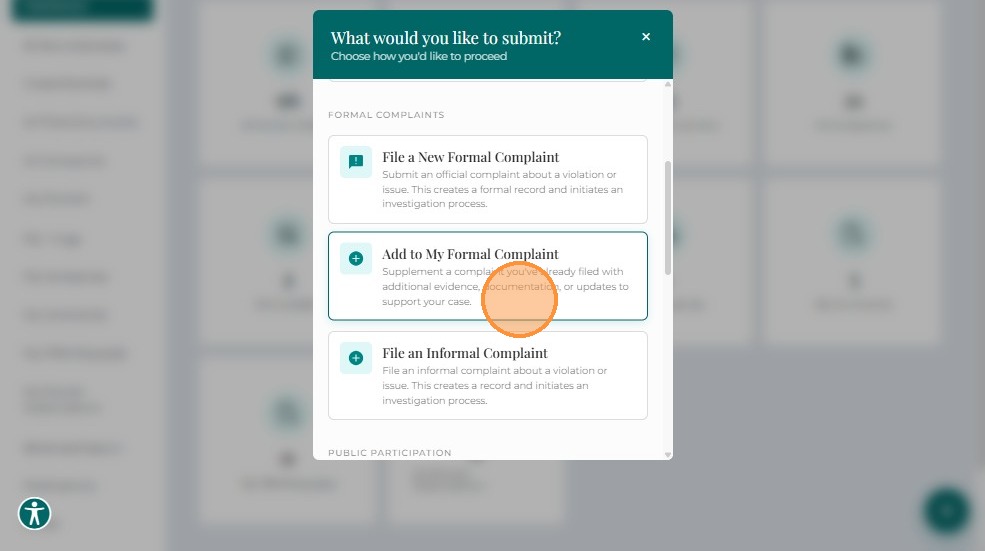
- The system opens the File Into Existing Formal Complaint Docket form.
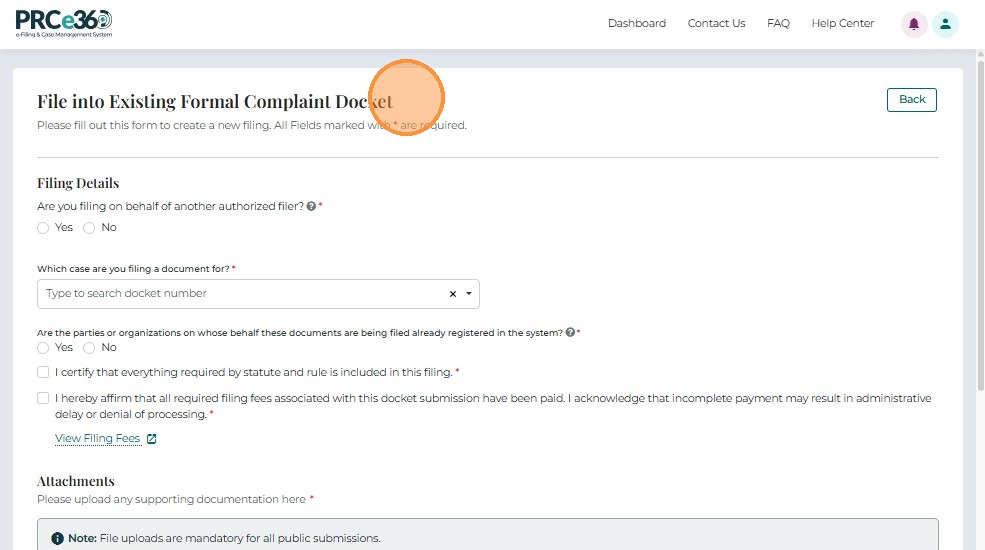
3. Complete the Filing Details
3.1 Filing on Behalf of Another Filer
- If filing on behalf of another authorized filer, select Yes and enter the following details:
- First Name
- Last Name
- Email Address
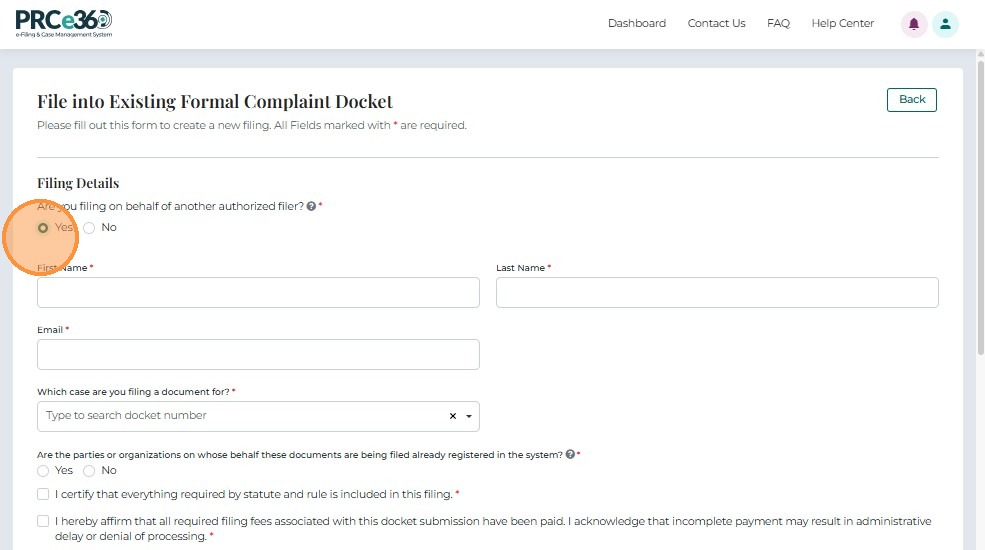
- If filing on your own behalf, select No.
Your details will auto-populate.
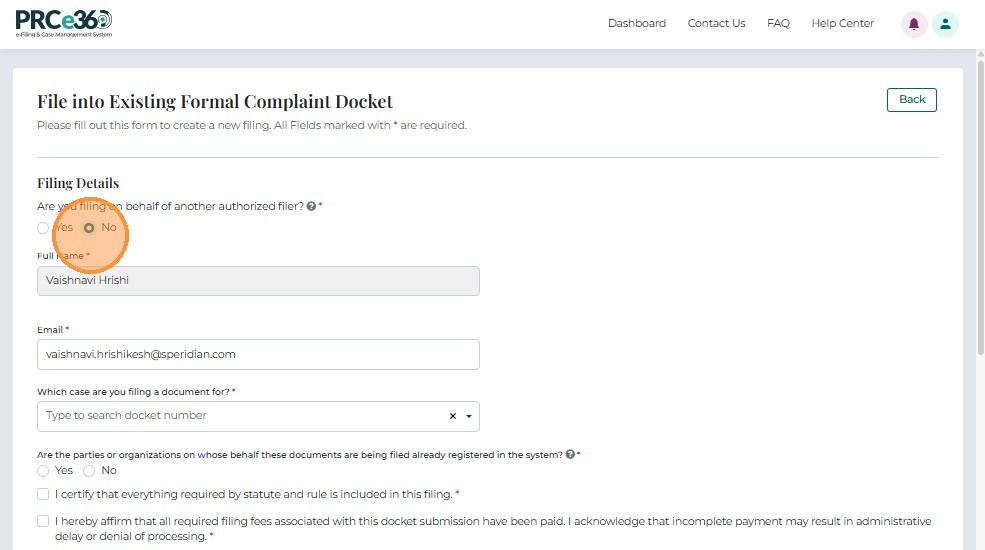
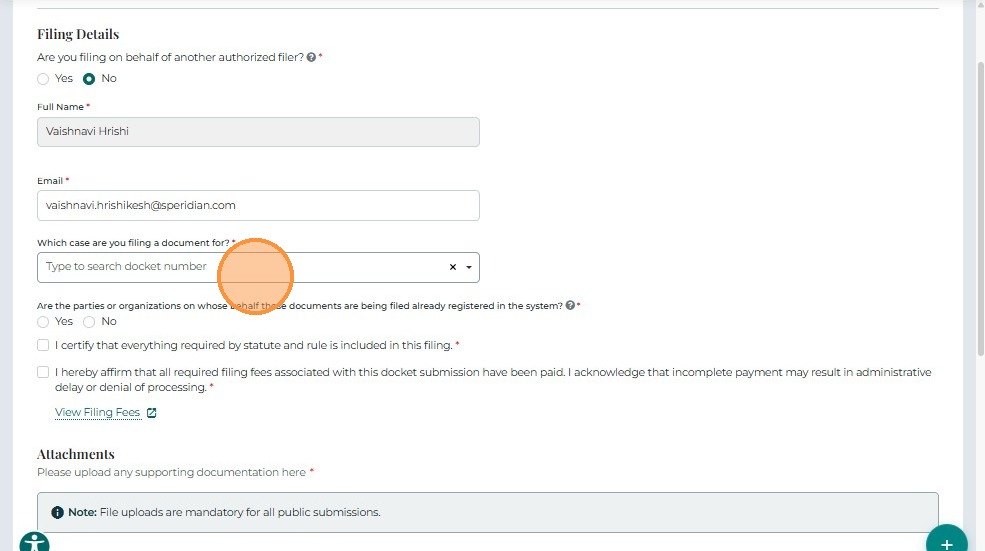
3.2 Select the Formal Complaint Docket
Search and select the Formal Complaint Docket Number you wish to file into.
3.3 Specify the Party Details
- If filing on behalf of a company already in the system, select Yes, then search and select the company name.
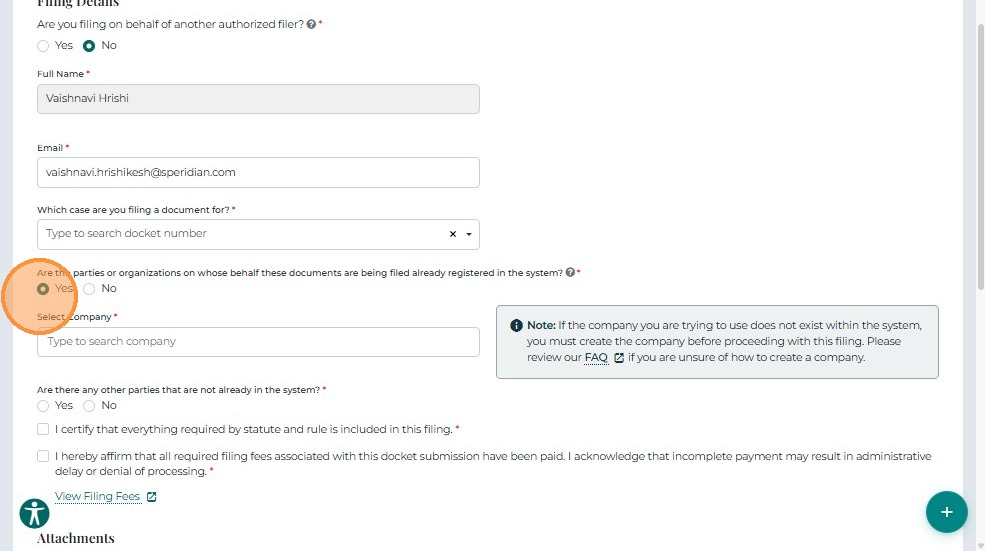
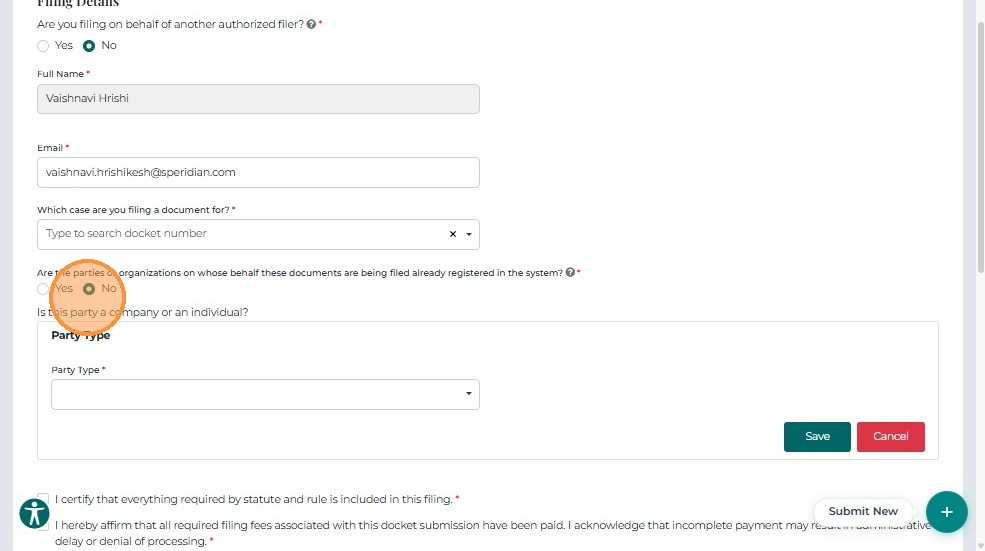
- If the company is not in the system, select No to manually enter the Party details.
-
To add more parties:
- Click Add Party
- Choose Party Type – either Company or Individual
- Enter all required information
- Click Save to add the record to the grid
-
Use the Edit or Delete icons to modify or remove an entry.
Note: Repeat this process to add multiple parties as needed.
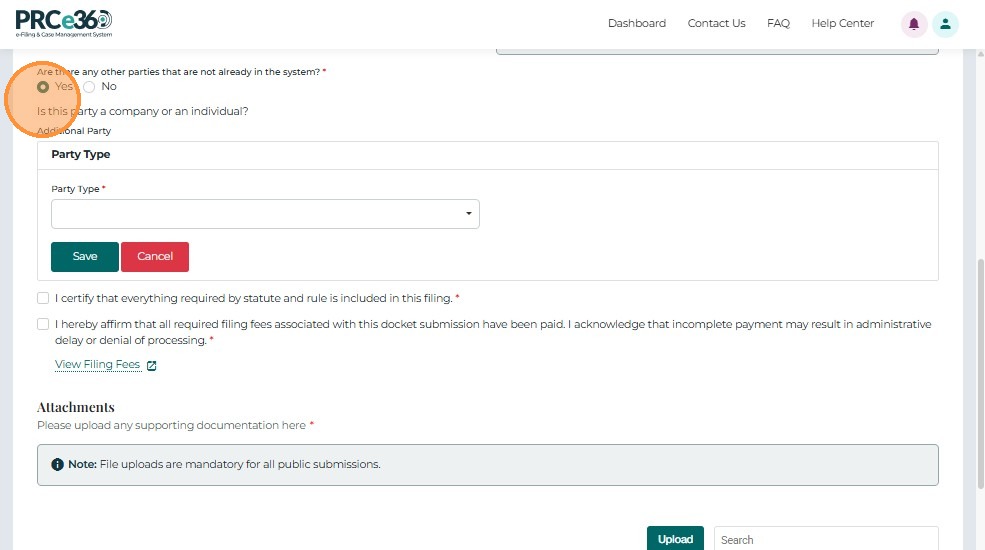
3.4 Certification
Before submitting, check the certification box confirming:
"I certify that everything required by statute and rule is included in this filing."

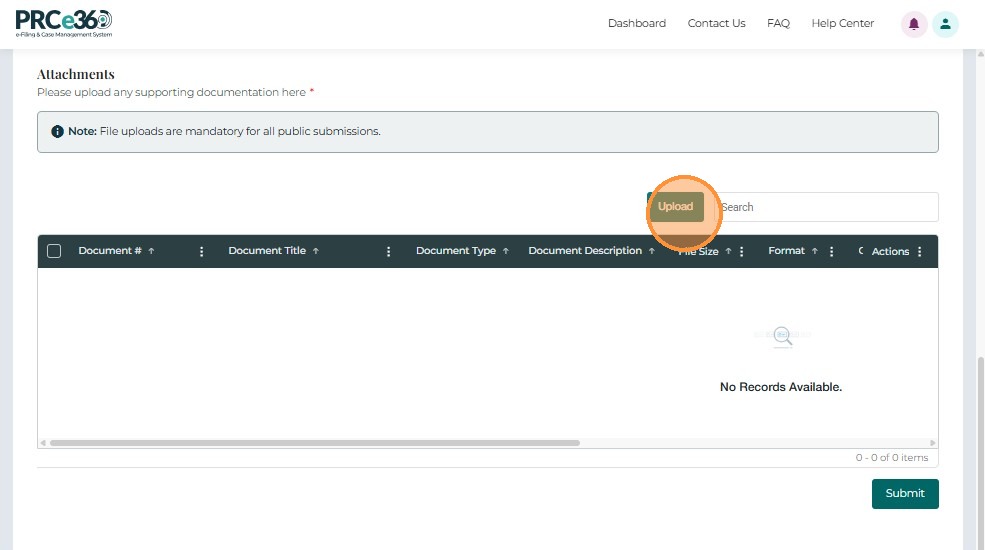
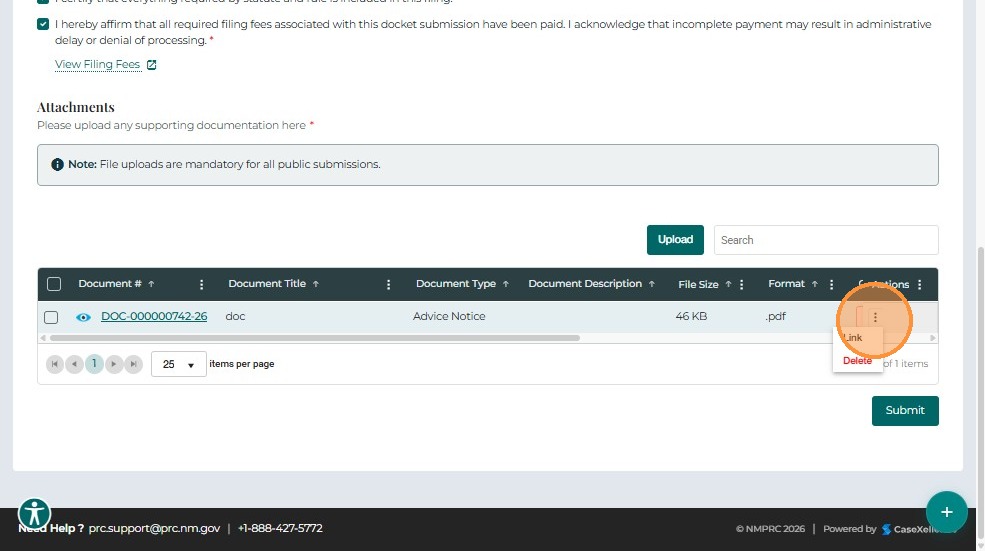
4. Upload Supporting Documents
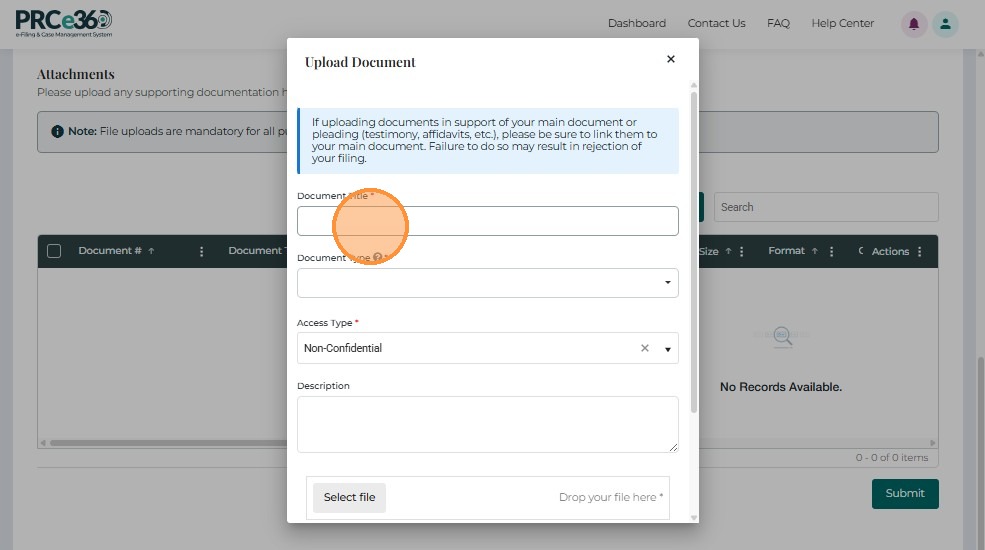
- Click Upload to open the document upload form.
-
Complete all required fields:
- Document Title – Enter a descriptive title
- Document Type – Select from the dropdown (e.g., Petition, Exhibit, Order)
- Document Description – Brief summary of the contents
- Access Type – Choose Non-Confidential or Confidential
- Select File – Browse or drag-and-drop your file
- Click Save to upload
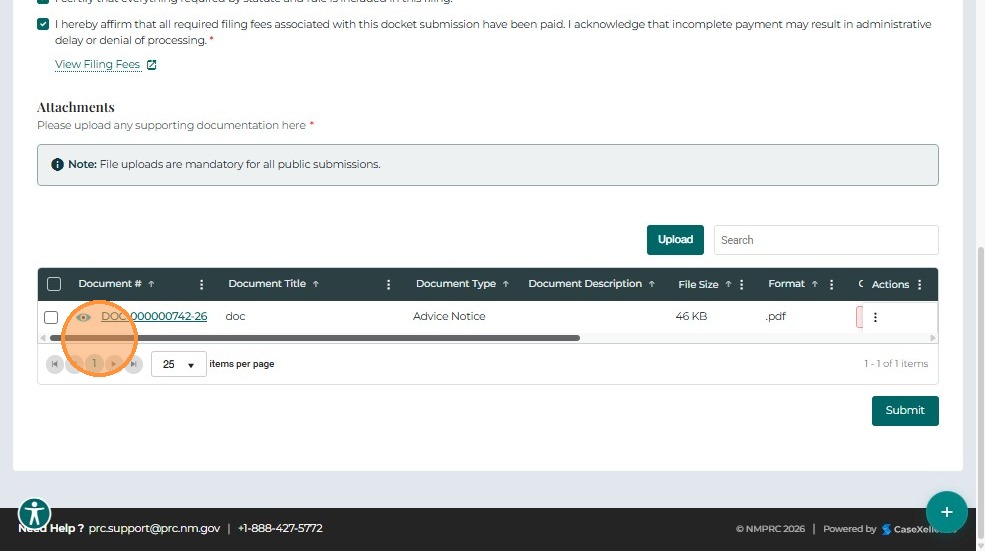
- Uploaded documents appear in the grid below.
| Field | Description |
|---|---|
| Document # | System-generated unique identifier for each uploaded file. |
| Document Title | Title entered by the user. |
| Document Type | Category or classification of the document. |
| Description | Short explanation of content. |
| File Size | Displays file size. |
| Format | File format (e.g., PDF, DOCX). |
| Confidential | Indicates if marked as confidential. |
| Uploaded On / By | Timestamp and filer details. |
| Actions | Options to Link or Remove a document. |
5. Submit the Filing
- After verifying all entries and uploads, click Submit.
![Submit button]!(https://colony-recorder.s3.amazonaws.com/files/2026-01-09/c2c7eb6e-d18c-4a91-8340-d25fc9c593e9/ascreenshot_681e9271761b42efbb2970d712d108ca_text_export.jpeg)
- The system displays a confirmation message with a Confirmation Number.
Click Go Back to return to the Dashboard.
6. Review Submission Status
- From the dashboard, open the My Filings queue.
The newly submitted filing appears in the grid.
| Field | Description |
|---|---|
| Confirmation # | Unique identifier for the filing. |
| Accepted On | Date and time the PRC accepted the filing. |
| Submitted On | Date and time the user submitted the filing. |
| Submission Status | Displays current review status (e.g., Pending, Accepted, Rejected). |
- Once reviewed by PRC staff:
- If Accepted, status changes to Accepted
- If Rejected, status reflects the rejection reason
7. View Accepted Documents in Case 360
Once the filing is accepted:
- Navigate to My Docket.
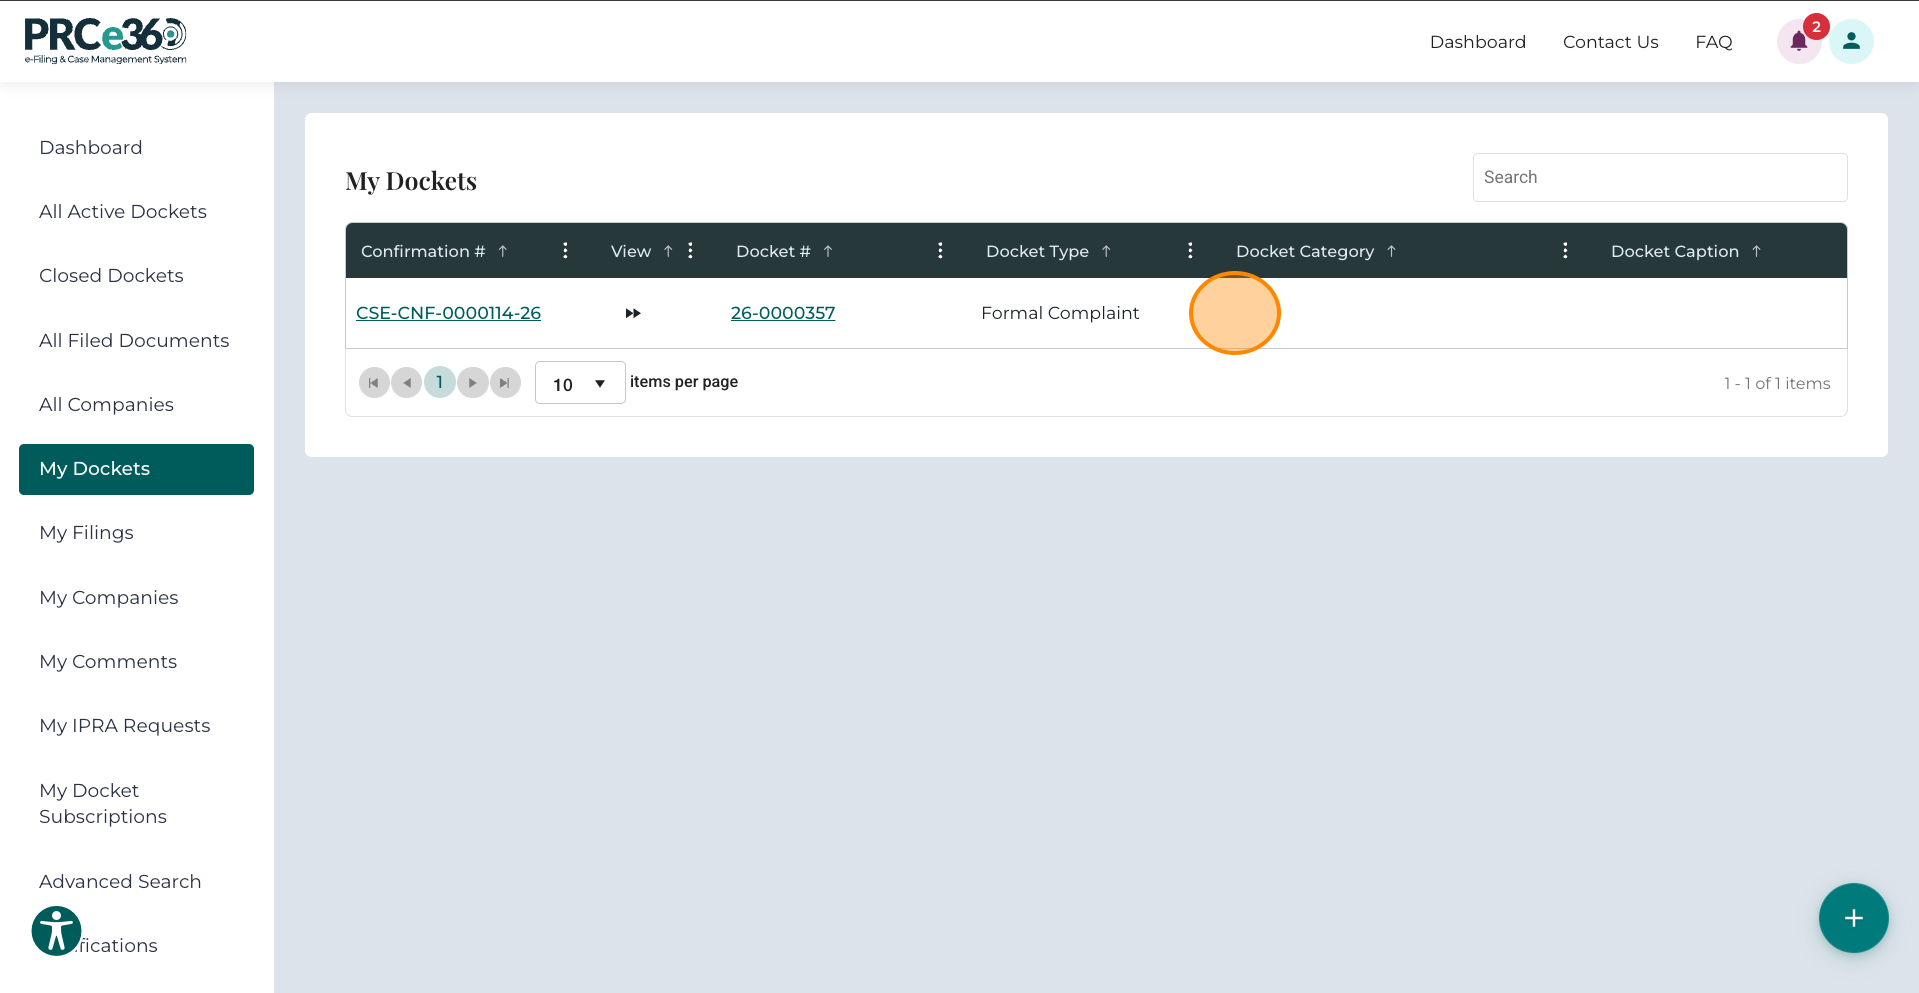
- Click the relevant Confirmation Number to open the Case 360 View.
- Open the Pleading Documents tab to see all accepted filings.
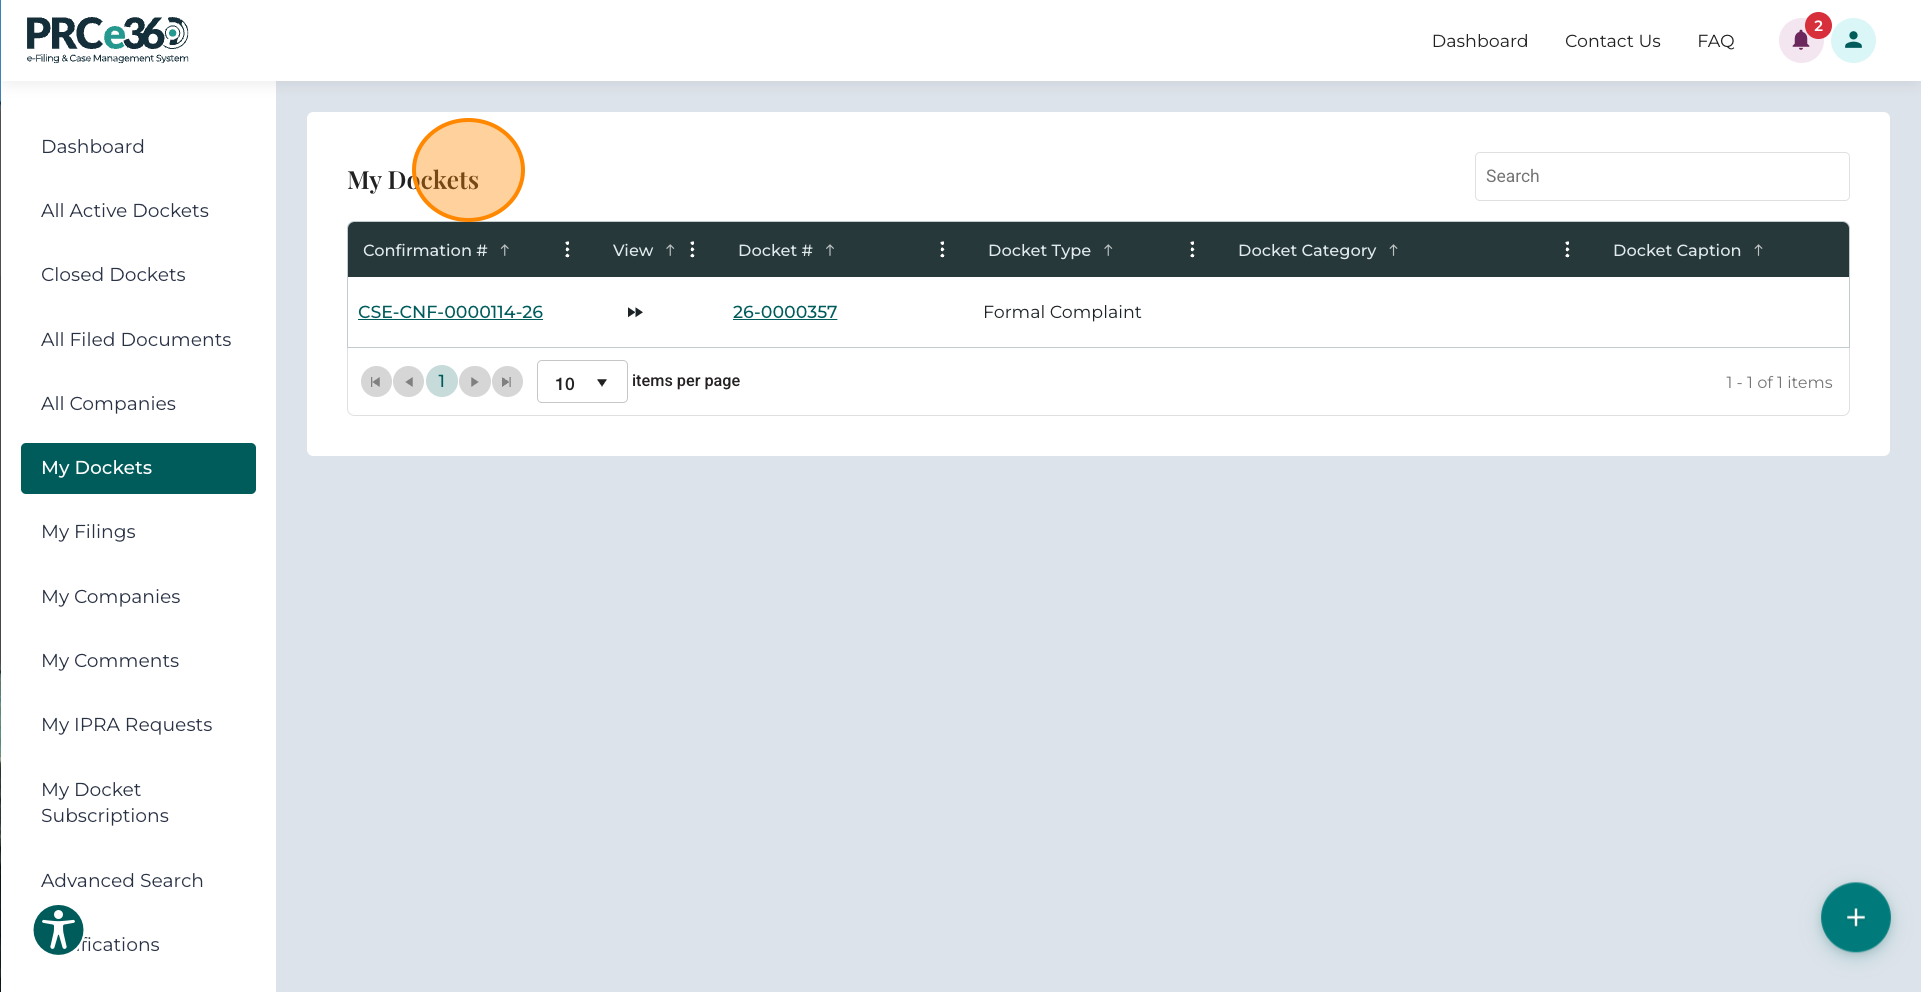
Note: - Only filings accepted by PRC staff are displayed under the Pleading Documents tab.